During a recent Cook the Books foray into Robin Mather’s The Feast Nearby, I had earmarked many, many recipes to try during the growing season.
One of these recipes (or rather a “How To” guide) was dehydrating cherries.
I love dried cherries and can snack on them often. I love baking recipes that call for dried cherries.
I hate the price of dried cherries. So, when I was reading The Feast Nearby and came across Mather’s instructions, I knew that I would give this a try as soon as I was able.
How to Dry Cherries
Adapted from Robin Mather in The Feast Nearby1 lb. of sweet cherries
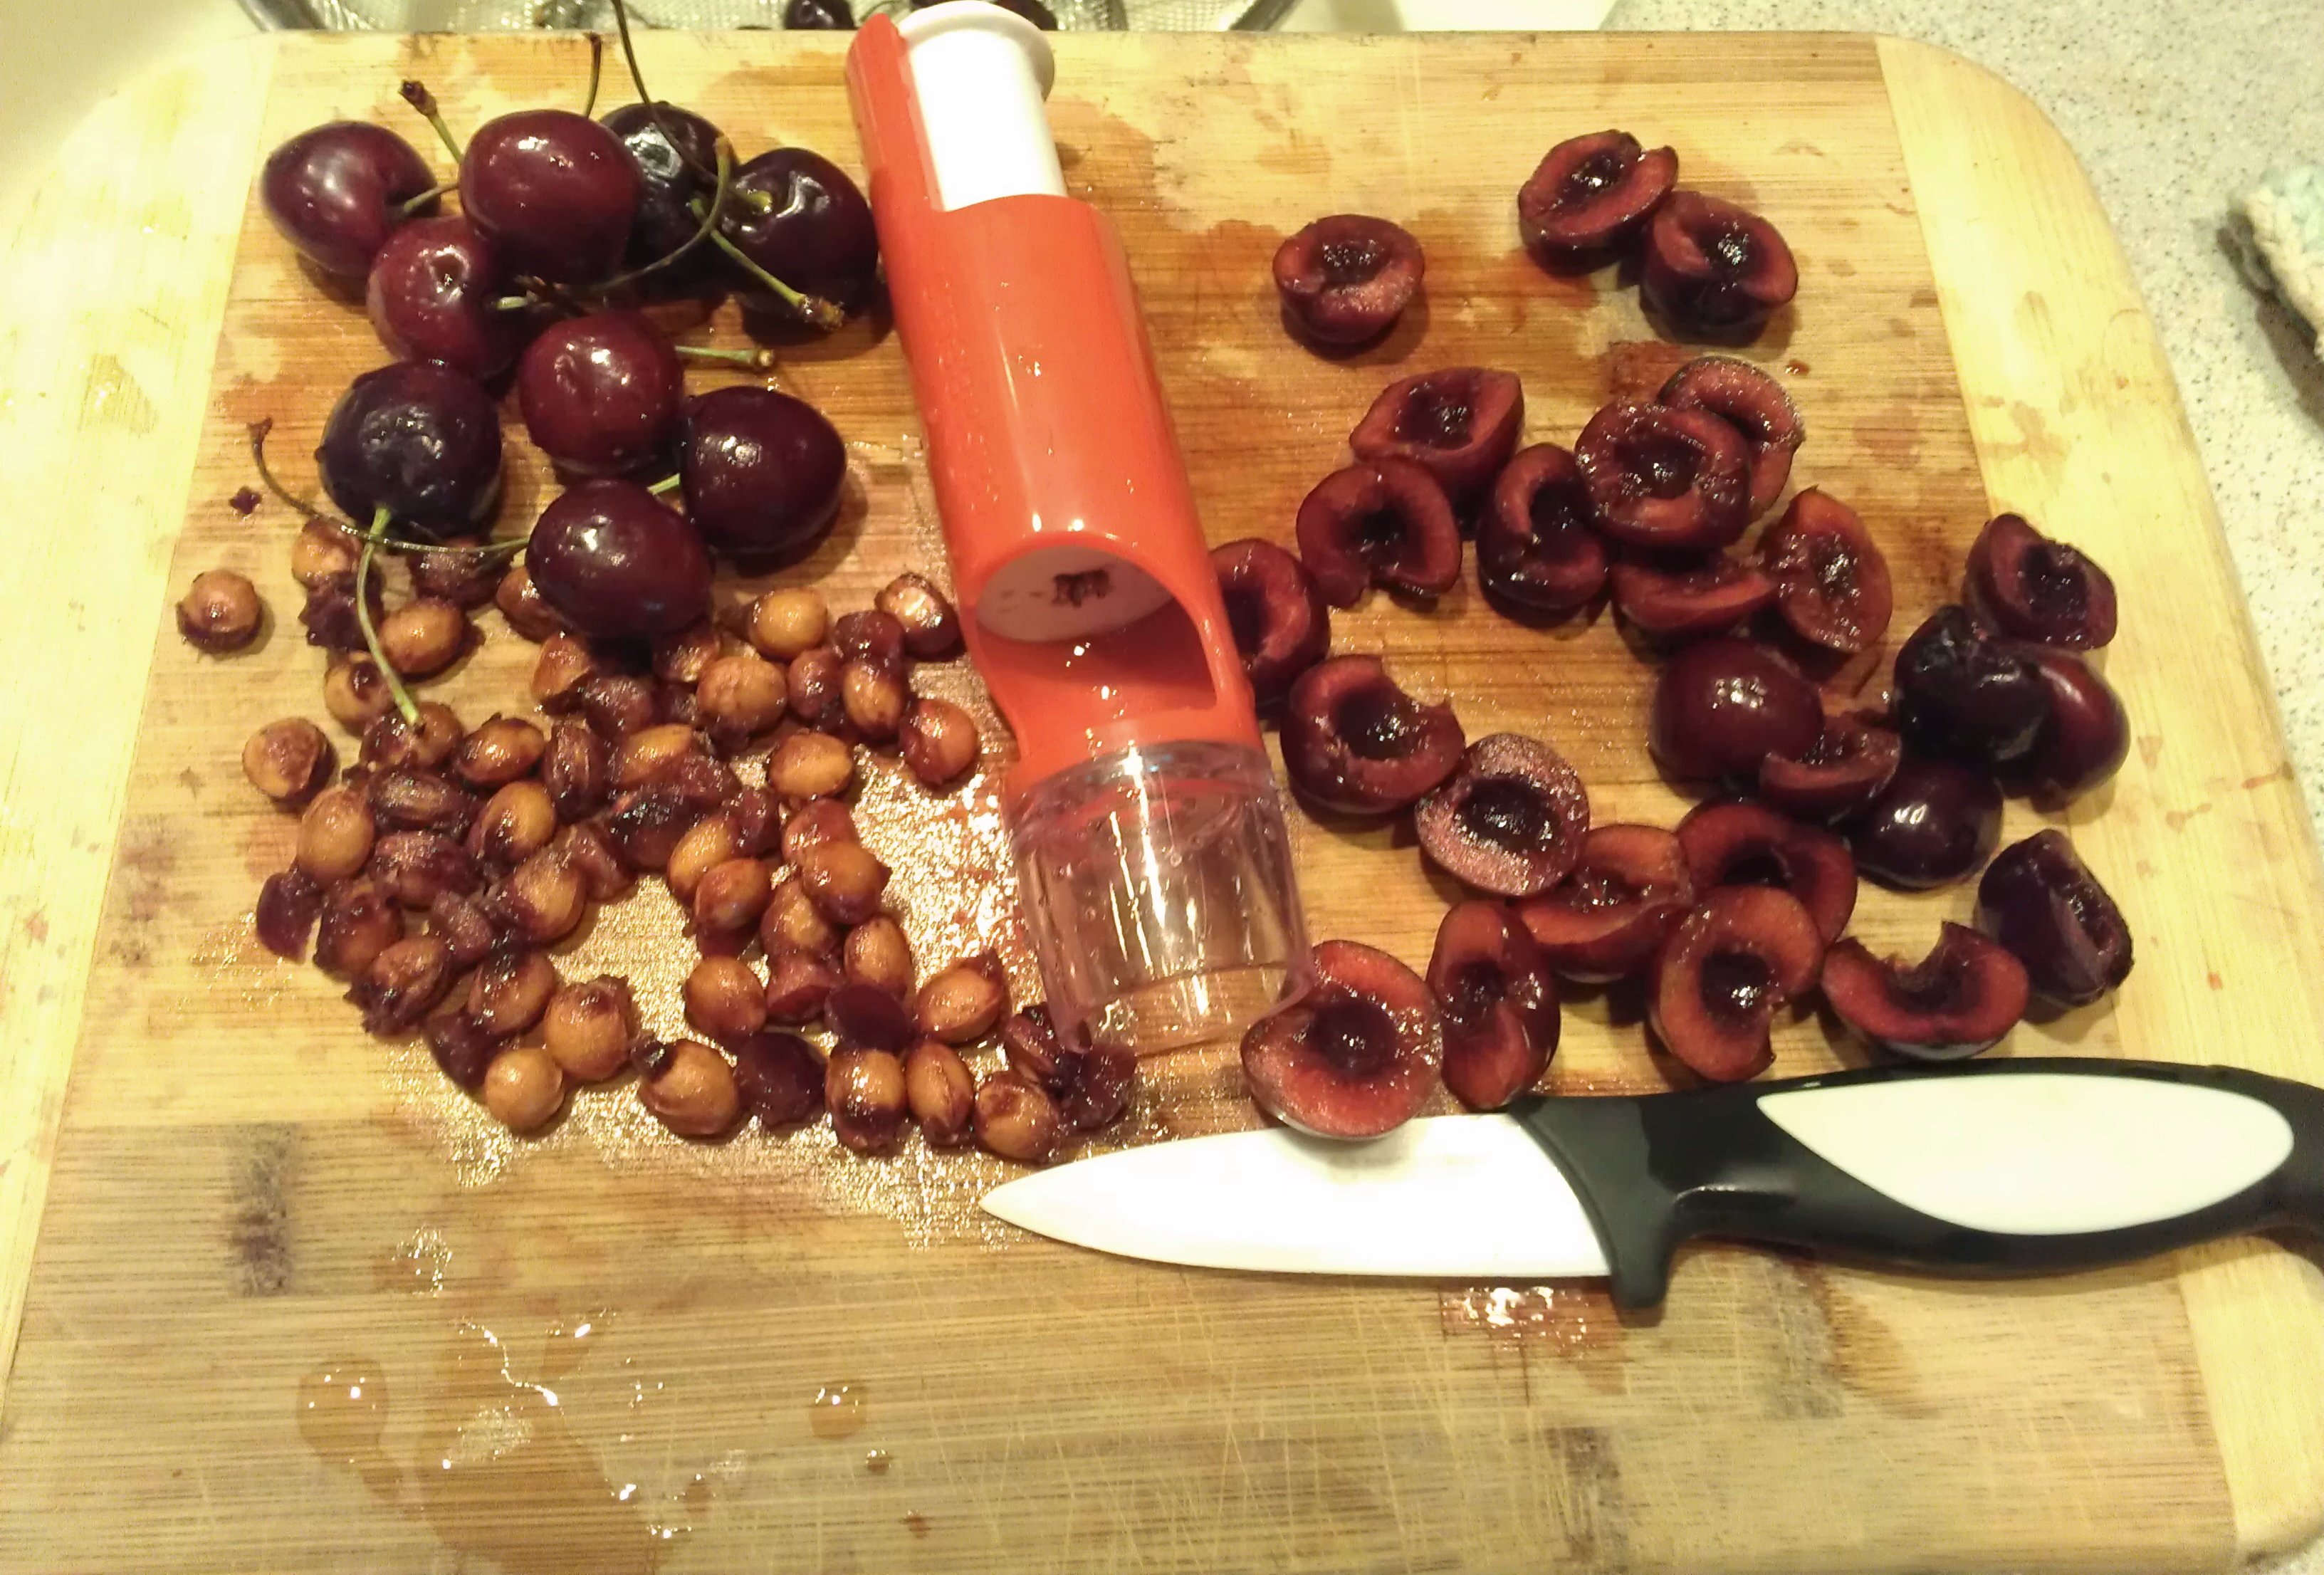
Wash cherries and allow to dry well. Remove stems, pit, and halve each cherry. Place cherries in a single layer on a baking sheet lined with a silicon pad or parchment paper.
Before the drying process.
Optional drying methods:
- I am fortunate enough to have a “dehydrate” setting on my convection oven. (One that I recently just realized I had and this recipe marks the first time I have used it.) On this setting, I preheated the oven to 160 degrees F. I started with a two-hour time limit, but soon added a third hour (and a fourth and a fifth). I think my total time was 6ish hours. I then just turned the oven off and left them in over night.
- According to Mather, these are the temperatures and times when using a food dehydrator. “Dry the cherries at 160 F. for 2-3 hours, then turn the temperature down to 130 F. until the cherries are dry and pliable, with no pockets of moisture.”
- If using a traditional oven, Mather writes to “turn the oven to its lowest setting and prop the door open slightly by placing a wooden spoon near the top of the oven door. Arrange the cherries cut side up on baking sheets in a single layer….It will take 12 to 24 hours for the cherries to dry.”

I did not have to stir my cherries as they dried.
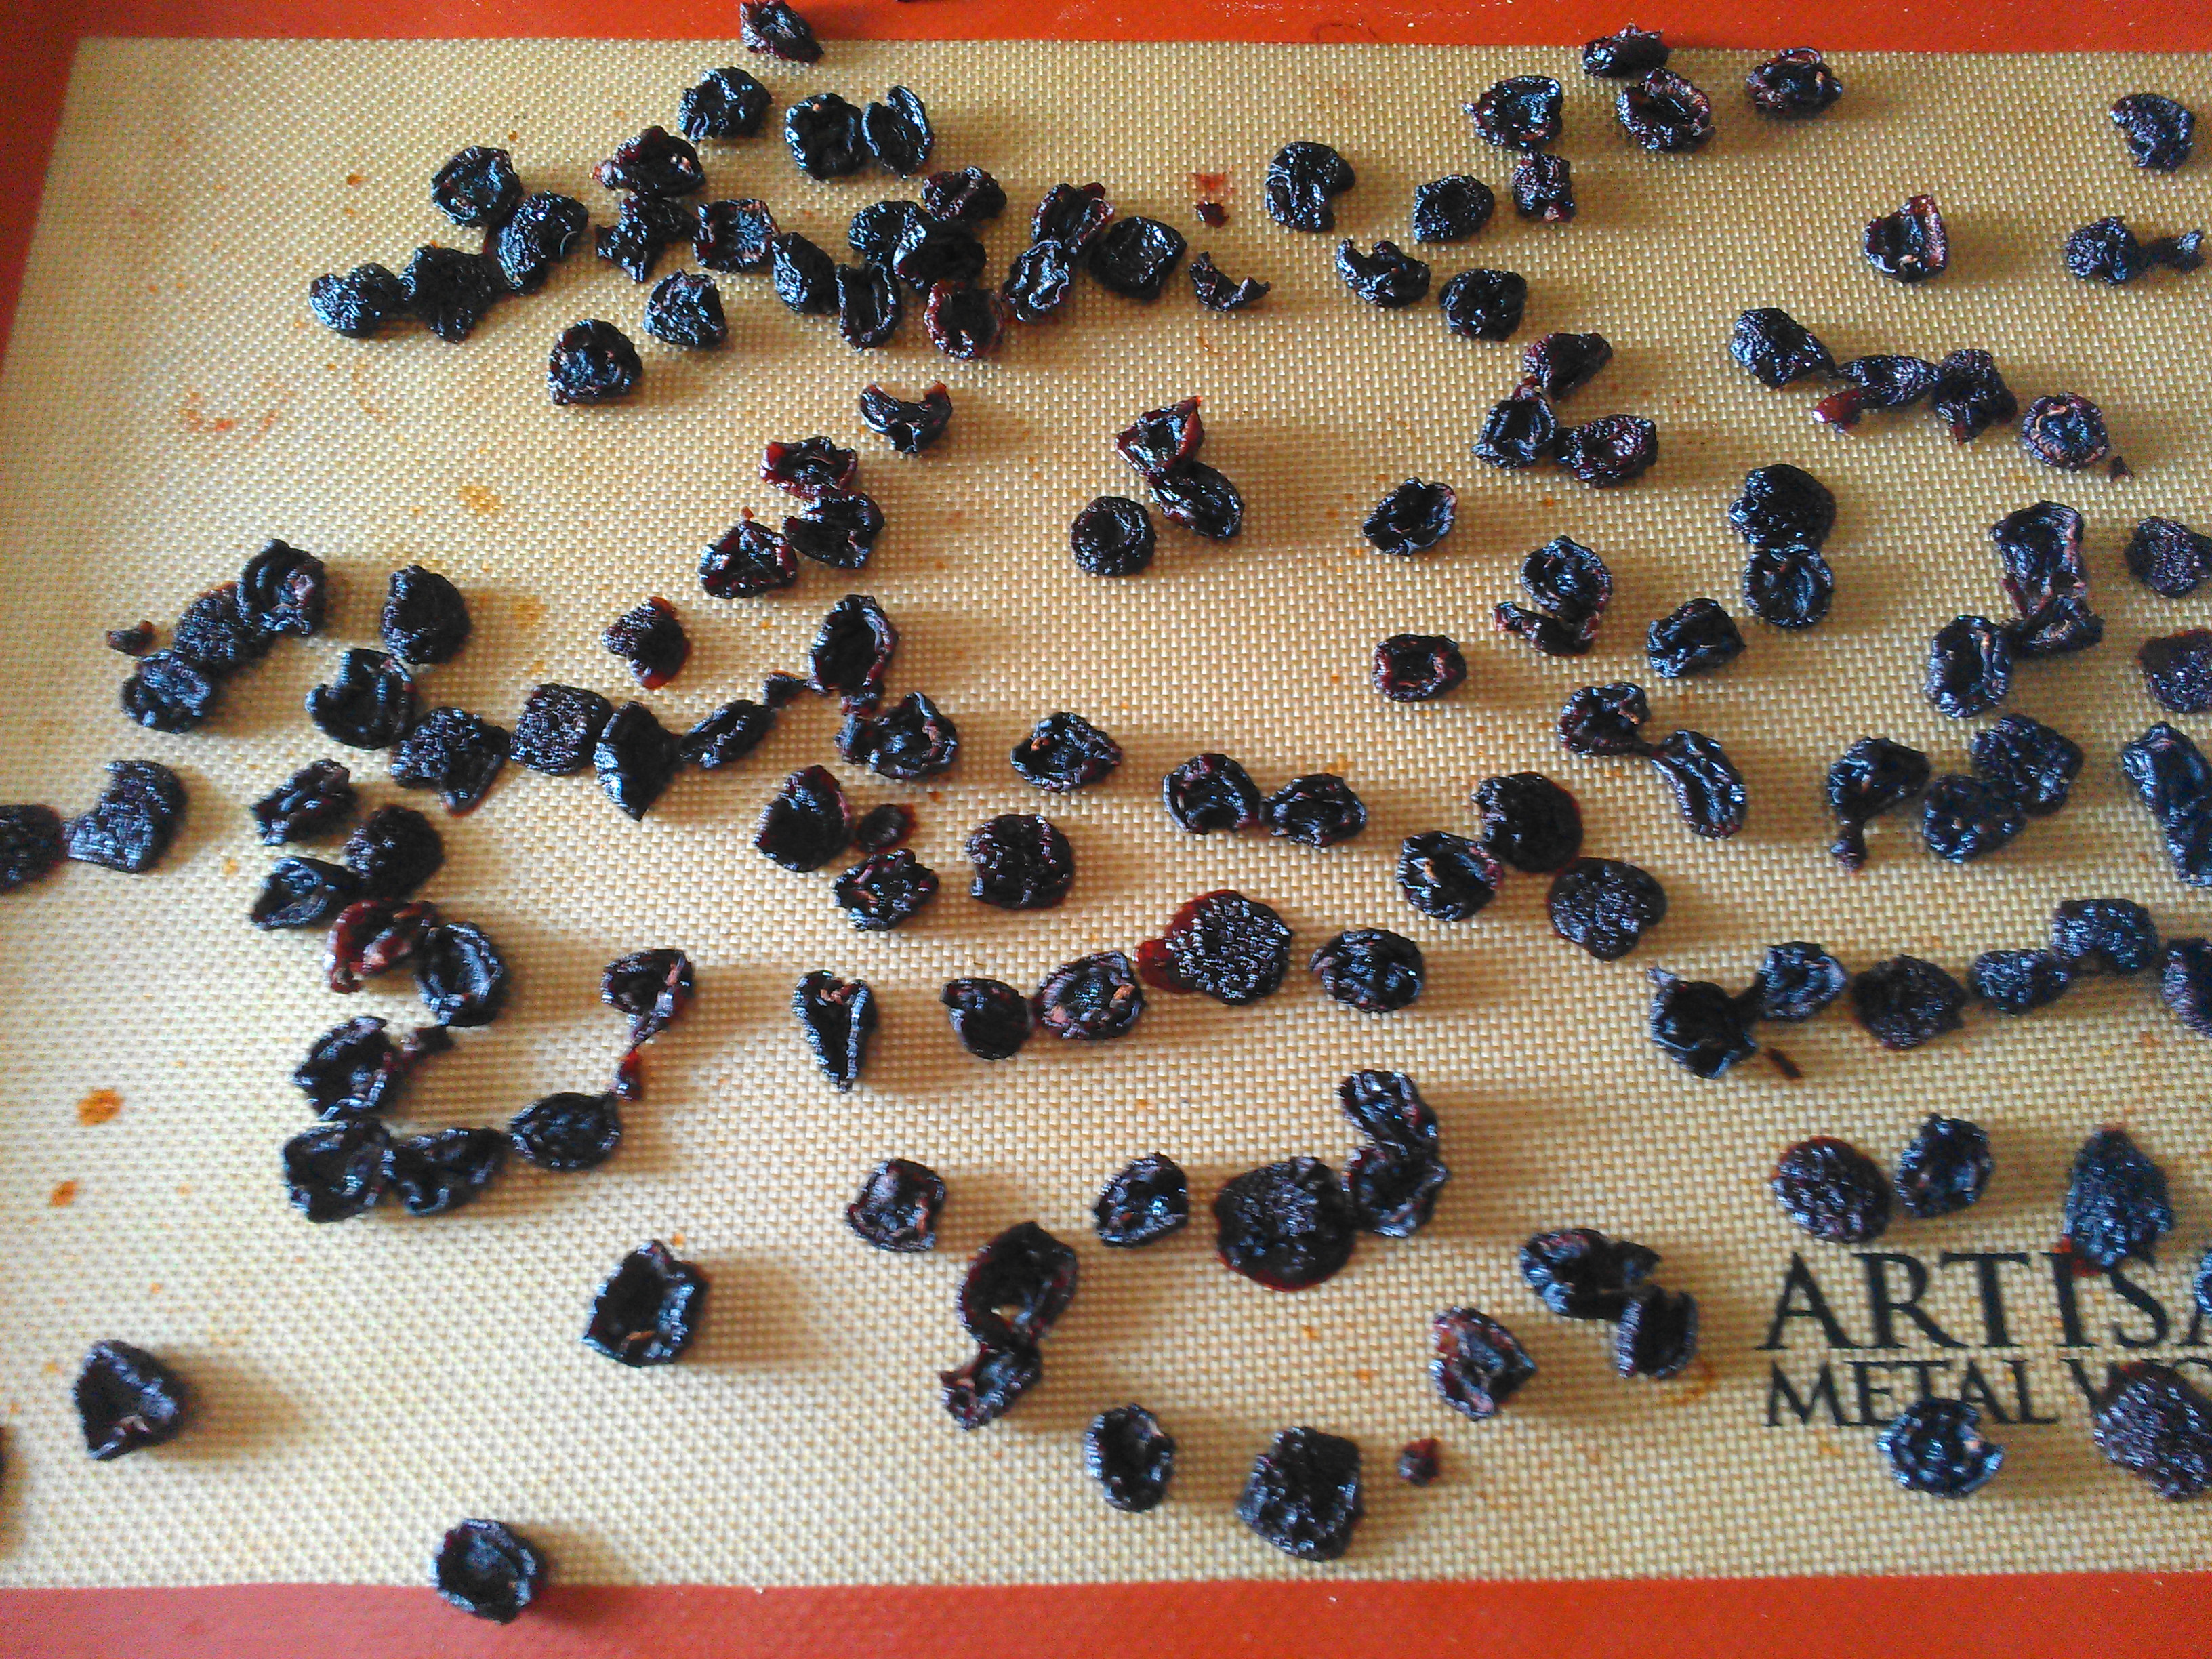
After.
Some drying methods recommend to sulfurize the cherries before drying. I did not want to to this so my cherries became pretty dark.
I used some of the swag from #HotSummerEats to pit the cherries: Casabella’s Cherry Pitter. See Cherry-Almond Crunch Chicken Salad for more details about this handy little gadget.
 Hopefully I will post a recipe soon using up these homemade dried jewels.
Stay tuned for a very-cherry-conserve.

I just bought a small bag of 150 grams of dried cherries and that cost me 2,99 euros. You know what? I even have a dehydrator…shame on me.
A bit of work but well worth the effort.
What a fun idea! I need to check and see if our convection oven has a dehydrate setting. I know it’ll keep a nice constant 170F if I want to keep things warm, so that might work too. Anyway, inspiring post — thanks.
I think the fan in the convection ovens are the key (whether or not you have the dehydrate setting or not). Hope you and Mrs. KR can give this a go.
Since I had a bunch of cherries that were at the peak of ripeness and I have the dehydrator – I decided to do this – and I did – now I am very close to having 3 pounds of dried cherries…………….I hope you come up with some great recipes! 🙂 Granola is fine but I really need some more………….they are beautiful by the way and would have never done it had I not seen your post today!
Great! I am posting a cherry conserve soon that uses fresh and dried cherries. Stay tuned! 🙂
Great! I made cherry conserve with the cherries I didn’t dry! Great minds think alike!!
YUM! I think I’d just eat those babies by the handful!
They are a great snack, Liz. Healthy, too.
A cherry pitter is a must for jobs like this! Dried cherries are super expensive here so drying your own would make a substantial difference. I’m glad you posted this as I had not even thought about drying fruit in the oven.
I do have a dehydrator somewhere that my mom got me second hand. I think it needs a new electrical cord. It’s just easier for me in the oven.
The problem with drying cherries is making sure that you don’t eat all of the fresh cherries first. You are correct that dried cherries are ridiculously expensive, so drying your own is the way to go. Great drying process!
You are correct. I had to get them in the pantry immediately. Luckily, I have used them all in a great new canning project.